How to Install Bobcat Skid Steer Wiper Assembly
Posted by AllSkidsteers Tech Support Team on 20th Sep 2018

Install your Bobcat® wiper assembly in 15 min* with this Pro Tip instruction guide. Work doesn't wait for the rain to stop and neither should you. Whether its snowing, raining, or something in between, windshield wiper kits from AllSkidsteers® help you see through it all to get the job done. Wiper Blades, Wiper Arms, Wiper Motors, and Complete Kits are just a click away.
*Estimated Installation Time : 15 min. ( approximate time only; actual time may vary. )
Needed for installation:
5/16" wrench
1/2" wrench
15/16" wrench
phillips screw driver
Step 1
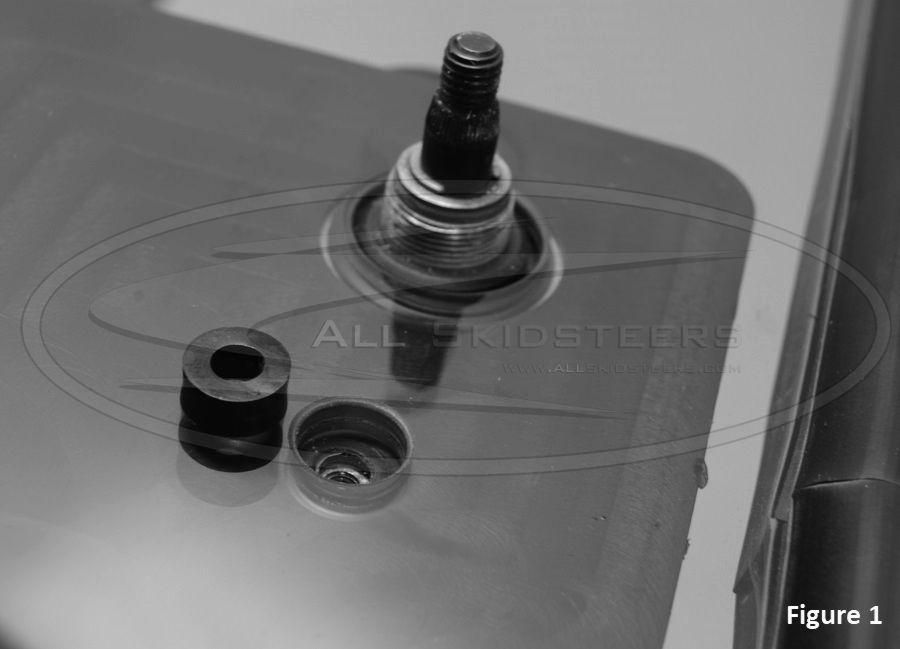
Start the installation process by first setting the door front side up on a table or padded stand. From the back side of the door, insert the wiper motor threaded shaft through large hole in the glass provided and insert the bushing for the wiper stud. ( figure 1 )
Step 2
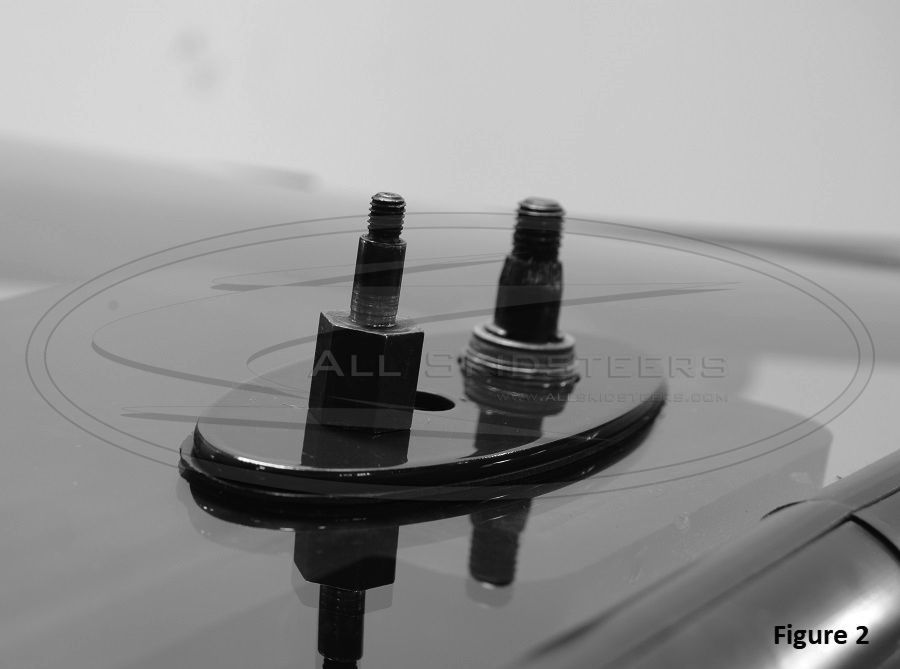
While still holding the wiper motor in place, position the wiper motor rubber gasket and plate over the wiper motor shaft and wiper stud hole. ( figure 2 ) Next install and snug up the large wiper nut to pull the wiper motor closer to the window. Now install the wiper stud, being careful not to over tighten it. Do not use the wiper stud to pull the motor closer to get the large wiper nut started as this will strip the threads. ( figure 3 )

Step 3
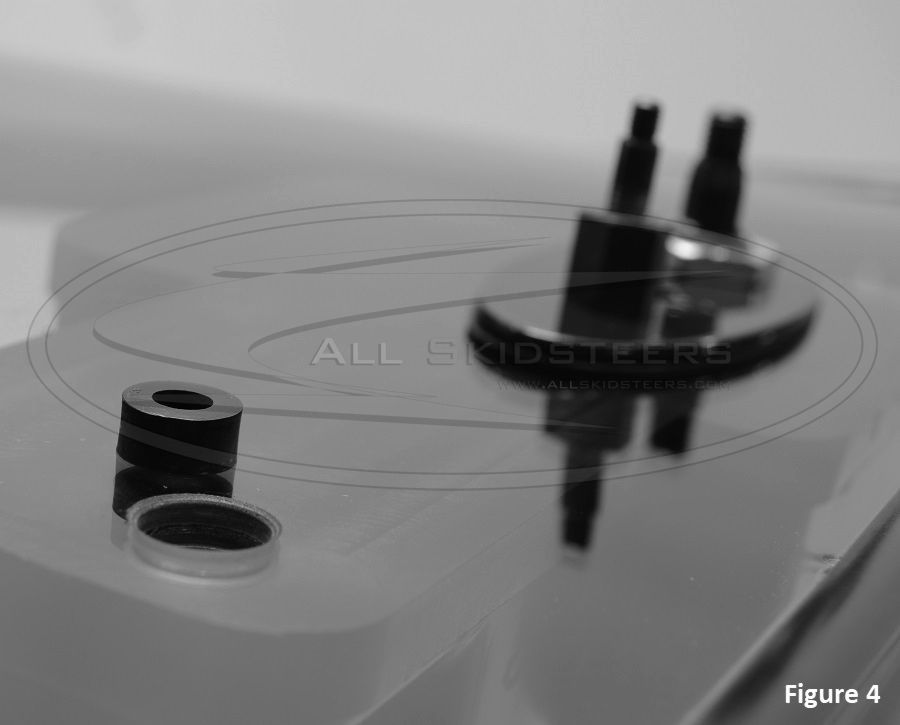
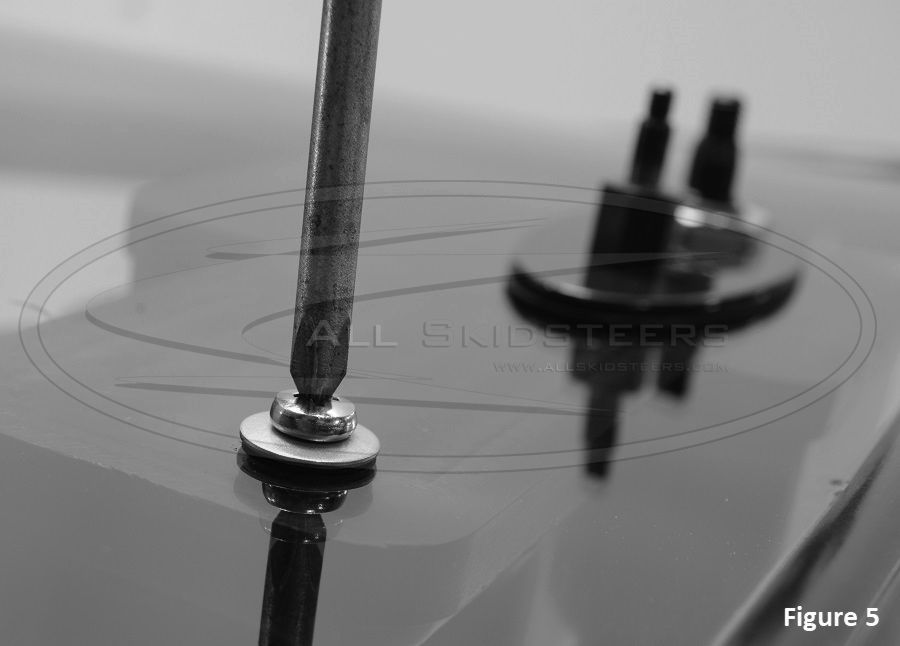
With both of the items in step 2 still hand tight, place the second bushing in the hole provided on the far left of the door glass ( figure 4 ) and install the phillips bolt with the washer ( figure 5 ) through the front side of the glass with the nut on the back side of the wiper motor. After finishing this step, tighten the wiper stud ( 1/2" wrench ), wiper nut ( 15/16" wrench ), and phillips bolt.
Step 4
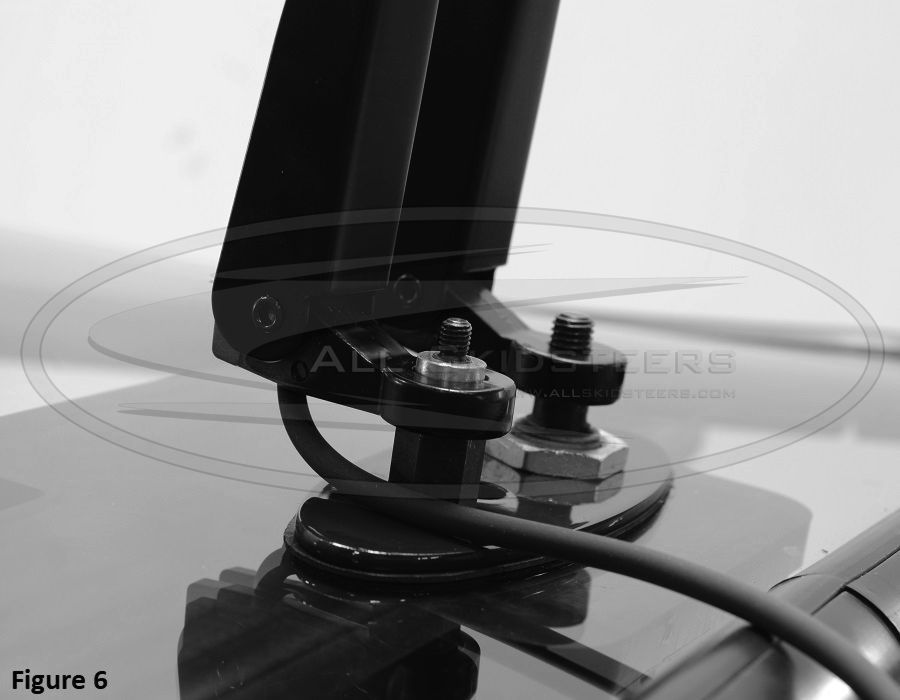
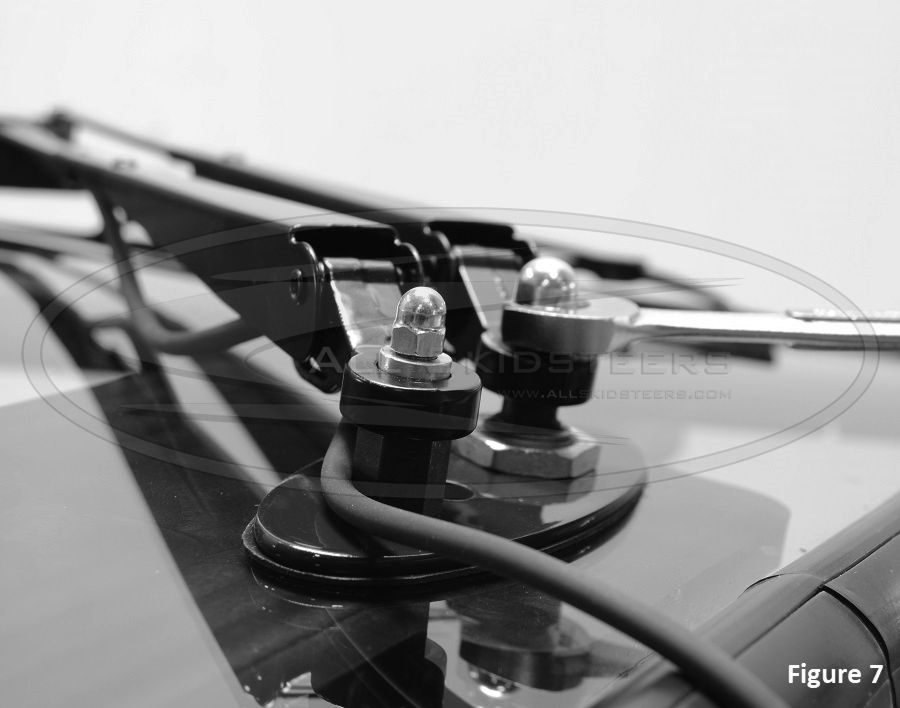
Snap the wiper blade onto the wiper arm and push the spring loaded mounting ends up till they stay in place. Insert onto the wiper motor shaft and wiper stud as shown in figure 6. Before installing the two wiper acorn arm nuts, bend the wiper arm toward the glass allowing for the wiper arm to snap back into normal position and move the wiper arm and blade over to the right side of the glass leaving a 2" to 3" gap between the wiper blade and the edge of the window. ( Once the wiper motor is hooked up to the machine and tested, adjust the position of the wiper as you see fit .) Tighten the large acorn nut ( 1/2" wrench ) and the small acorn nut ( 5/16" wrench ). ( figure 7 )
Step 5
Hook up any washer hoses ( if equipped ) and use ZipTies® to secure the wiper motor wiring to the provided loops located on the inside of the door frame.
All parts needed for this Bobcat wiper assembly installation can be found online at allskidsteers.com
Related Posts :


